Openers · Oakwood
Photo-Eye Sensor Alignment or Replacement in Oakwood
You press the remote, the door drops a few centimetres, then climbs straight back to the top while the opener light blinks.
In plain words
By the end of the visit you have a door that closes from every control and reverses the instant the beam is broken, a sensor pair mounted level at the right height with steady indicator lights, wiring that is secured and out of harm's way, and a written note of what was found and what was changed. The technician walks you through the two tests you can repeat monthly, points out which light is which, and leaves the opener's diagnostic chart where you can find it. It is a small job that puts a large piece of your door's protection back in service.
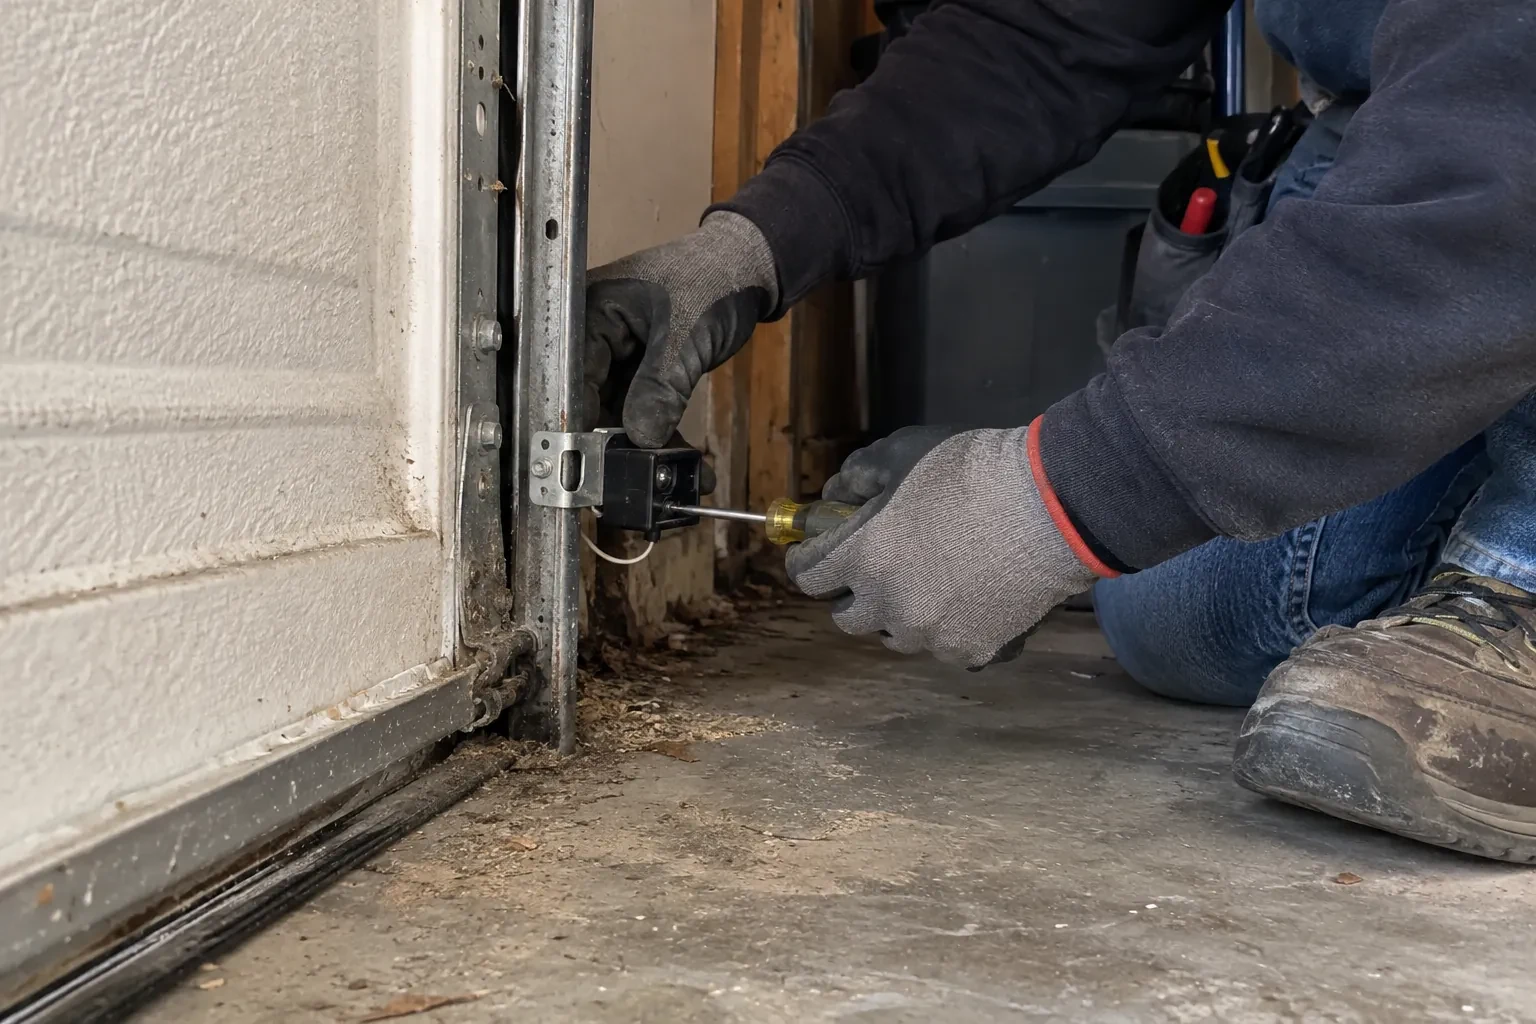
How the visit goesSince shelving went up along the garage wall, the door will not close and both sensor lights are dead. A screw or staple may have gone through the thin wire that runs from the opener to the sensors.
Photo-Eye Sensor Alignment or Replacement
How the visit goes
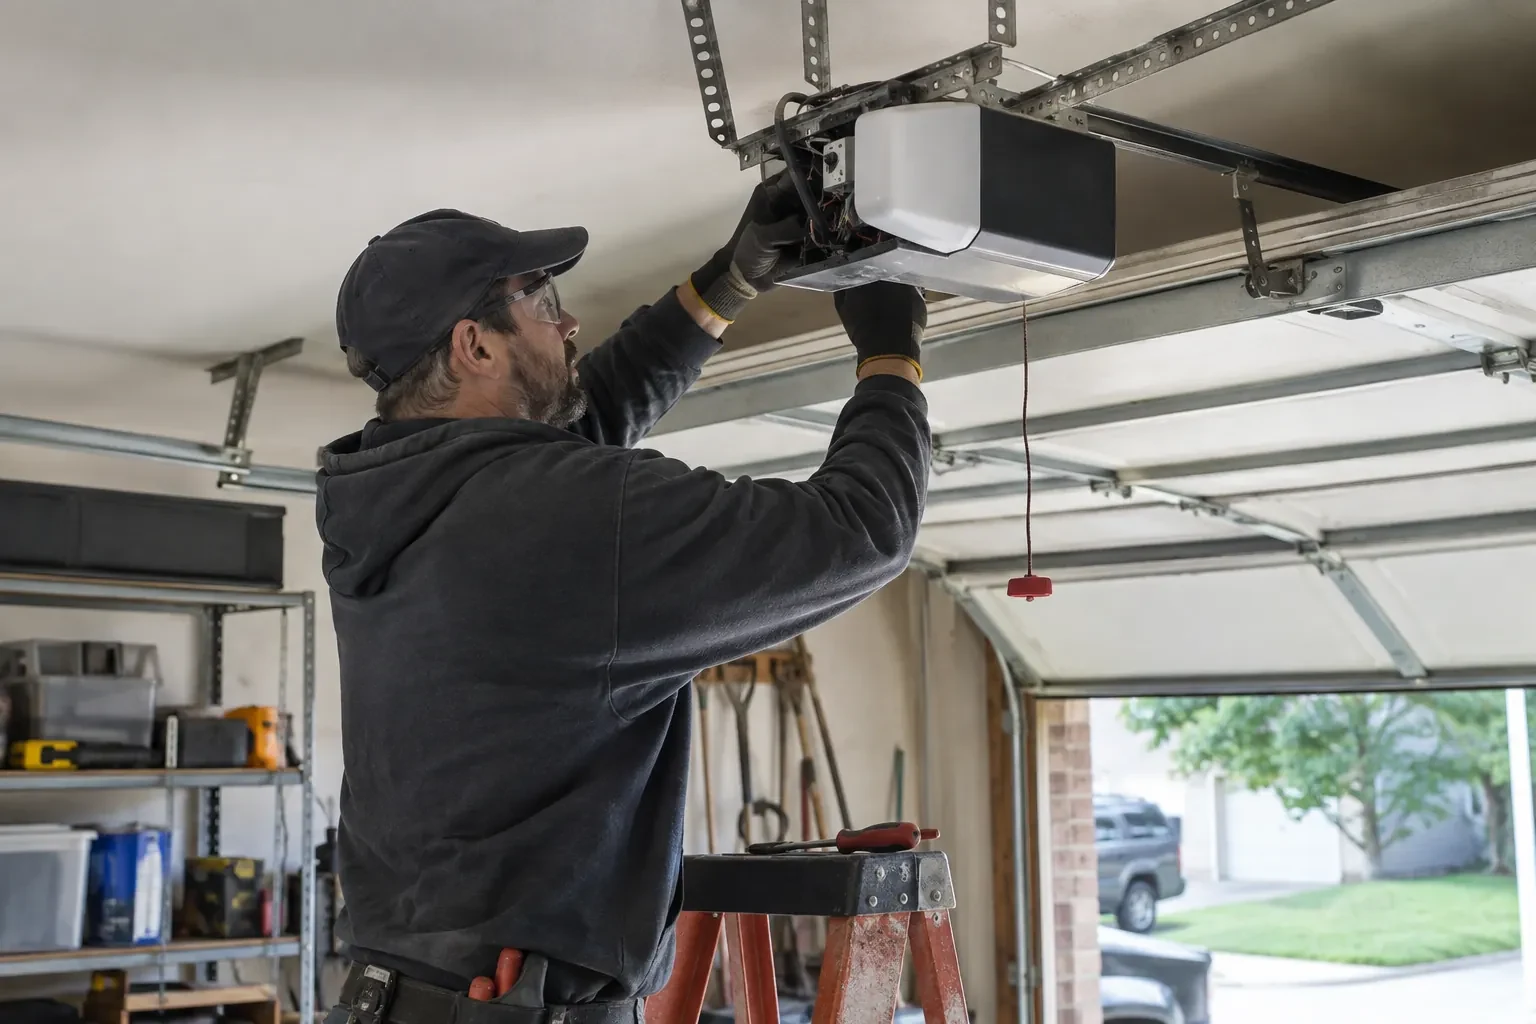
Ruling out sun, frost and reflections
A sensor that misbehaves on a timetable is usually being blinded rather than broken. The technician notes which way the door faces, where the low sun reaches the floor in the morning and late afternoon, and whether a receiving lens looks into that light or into a reflection off a parked car, a white wall or fresh snow. Lenses are checked for frost, condensation and a film of salt, common in an unheated garage. A hand cupped over the receiving eye while the light is watched is a simple test: if the indicator settles when the eye is shaded, the fix is a side swap or a small hood rather than new parts.
Dealing with the sun
A receiver that looks into the low sun is fixed by geometry. The simplest cure is to swap the two sensors side to side so the receiver looks away from the doorway light and the sending eye, which is not affected, takes the sunny position. Where the layout rules that out, a small hood or shade is fitted over the receiving lens, deep enough to shield it without narrowing the beam path. The wiring is extended or re-routed as needed and both lights are checked at the time of day the fault used to appear, or with a strong light aimed at the lens to stand in for the sun.
Wiring that stays put
The wire between the head unit and the sensors has been secured along the ceiling and walls, clipped clear of the track and, where it was exposed, run inside a protective channel. Two things keep it that way. First, when anything is fastened to those walls or that ceiling, from shelving to a bike hook to drywall, look for the thin wire before driving a screw or a staple. Second, if mice have been in the garage, a chewed wire is a common sign, so a dark sensor light after a sighting is worth a look at the run. Either way, the sensor lights will tell you the moment the circuit is open.
Photo-Eye Sensor Alignment or Replacement
In the van
Track-mount sensor brackets
Matched photo-eye sensor pair
Protective wire channel
Wing nuts and carriage bolts
Wall or floor angle brackets
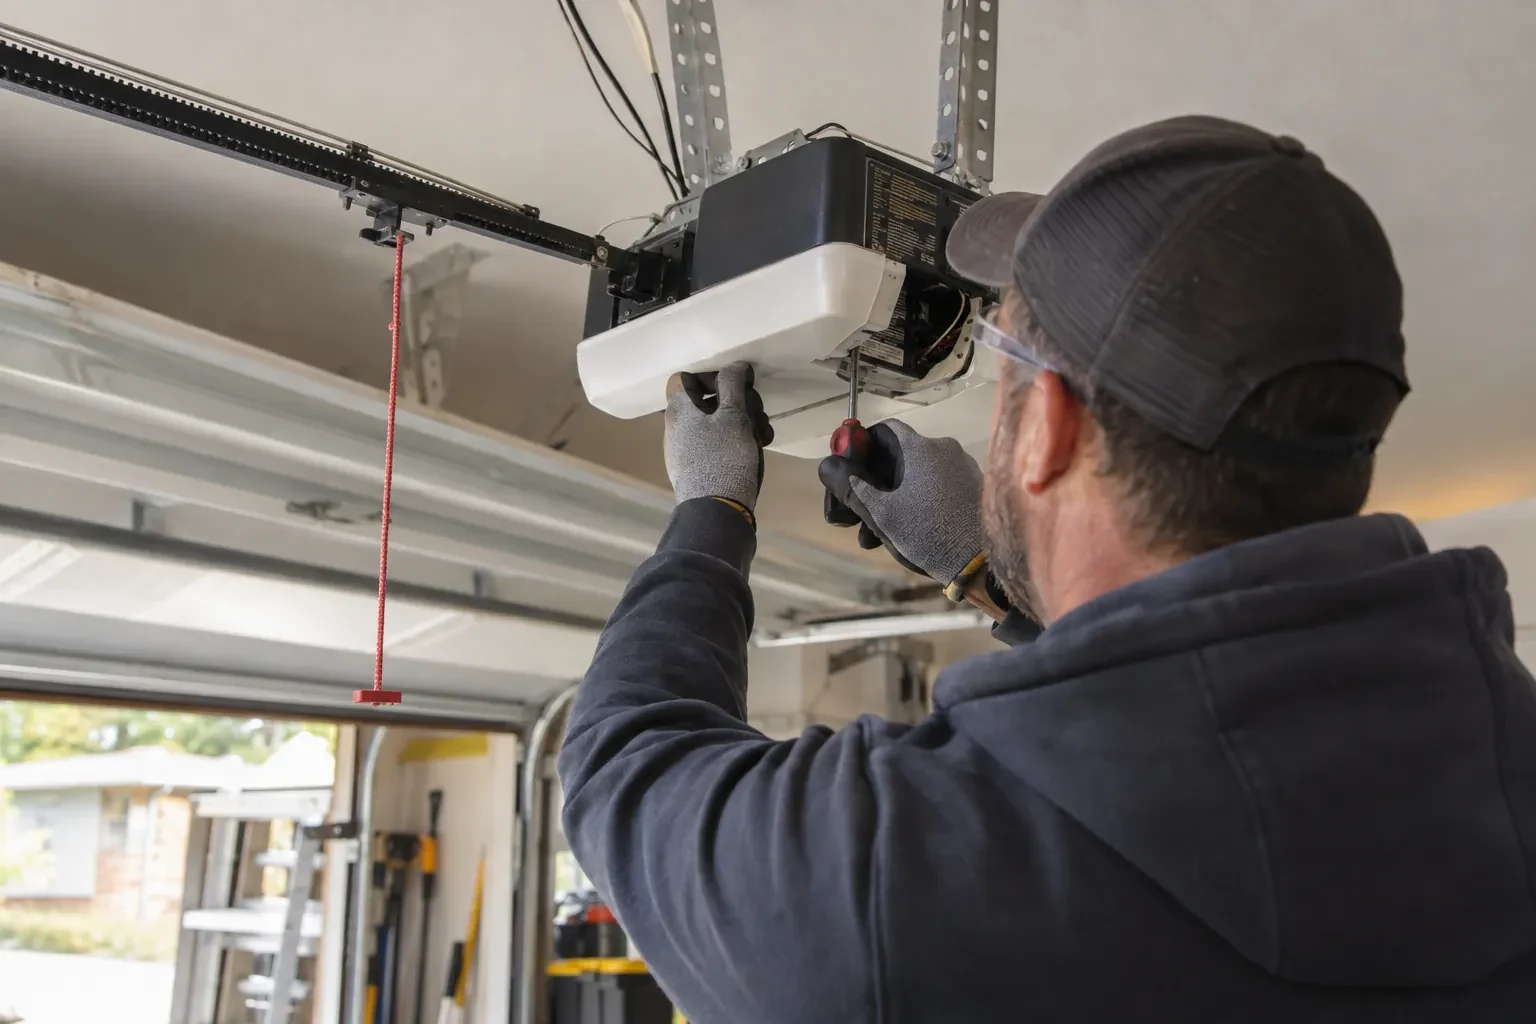
Photo-Eye Sensor Alignment or Replacement
What affects the quote
Corrosion reaching the head unit
Where salt and water have travelled up the wire to the terminals, or the sensor terminals on the board are damaged, the repair extends beyond the pair and that is set out separately.
Wall or floor mounting with anchors
Mounting into concrete or masonry rather than onto the track means drilling, anchors and sealing against water, which takes more time than clipping to the rail.
Undoing an earlier shortcut
Sensors taped together beside the motor, mismatched pairs from different generations or a bypassed circuit are put right first, which means new wire down each side and fresh brackets at the doorway.
What to have ready
- When you press close, does the door bounce back, sit still, or go down only with the wall button held?
- Are there sensors at the floor on both sides, or are they missing or mounted up beside the motor?
- What make and model is on the opener's label, and roughly how old is it?
Photo-Eye Sensor Alignment or Replacement: questions
QuestionsHow high off the floor should the sensors sit?
Low. The industry checklist expects the beam no more than roughly 15 cm (6 in) up from the floor, so that a small child, a pet or a bicycle wheel breaks it. Both sensors are set at the same measured height and level with each other, since a difference of a couple of centimetres is enough to lose the beam. Within that rule the technician can raise them a little to keep them out of the strip where slush collects.
What do the small lights on the sensors mean?
Arrangement varies by model: most pairs carry an indicator on each side, in differing colours for sender and receiver, though some older pairs light only the receiver, so check the maker's chart. A receiving light that is dark or flickering means the beam is not landing on it, so the pair needs aligning or something is in the way. Both lights dark means the pair has no power, which points to the wire or the terminals at the head unit. Steady lights on both sides mean a healthy system.
Do both sensors get replaced together?
Yes. The sending and receiving sensors are made and sold as a matched pair for a given opener family, and the head unit expects both to be from the same generation. Fitting a pair also means both lenses, both indicators and both mounting points are fresh at the same time, so the alignment holds and the next check is simpler. A single sensor from an unrelated kit is where mystery faults come from.