Openers · Toronto
Garage Door Opener Diagnosis and Repair in Toronto
For a few days there was a grinding sound whenever the door started moving.
In plain words
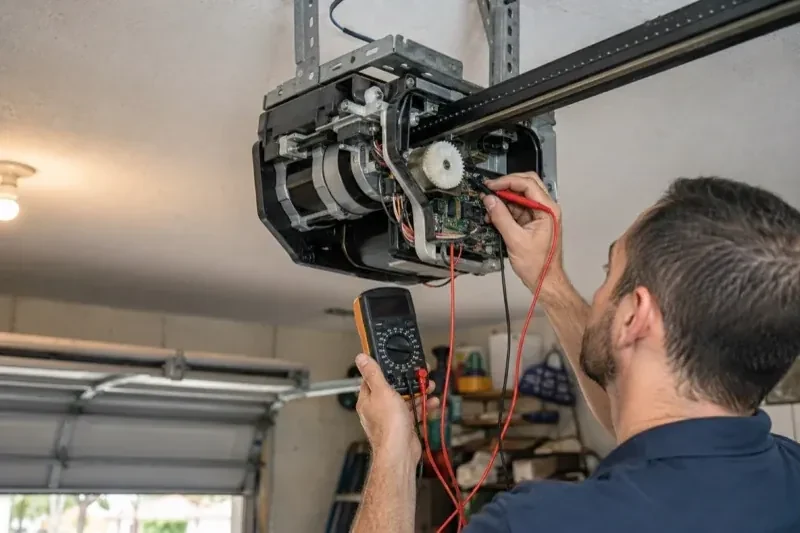
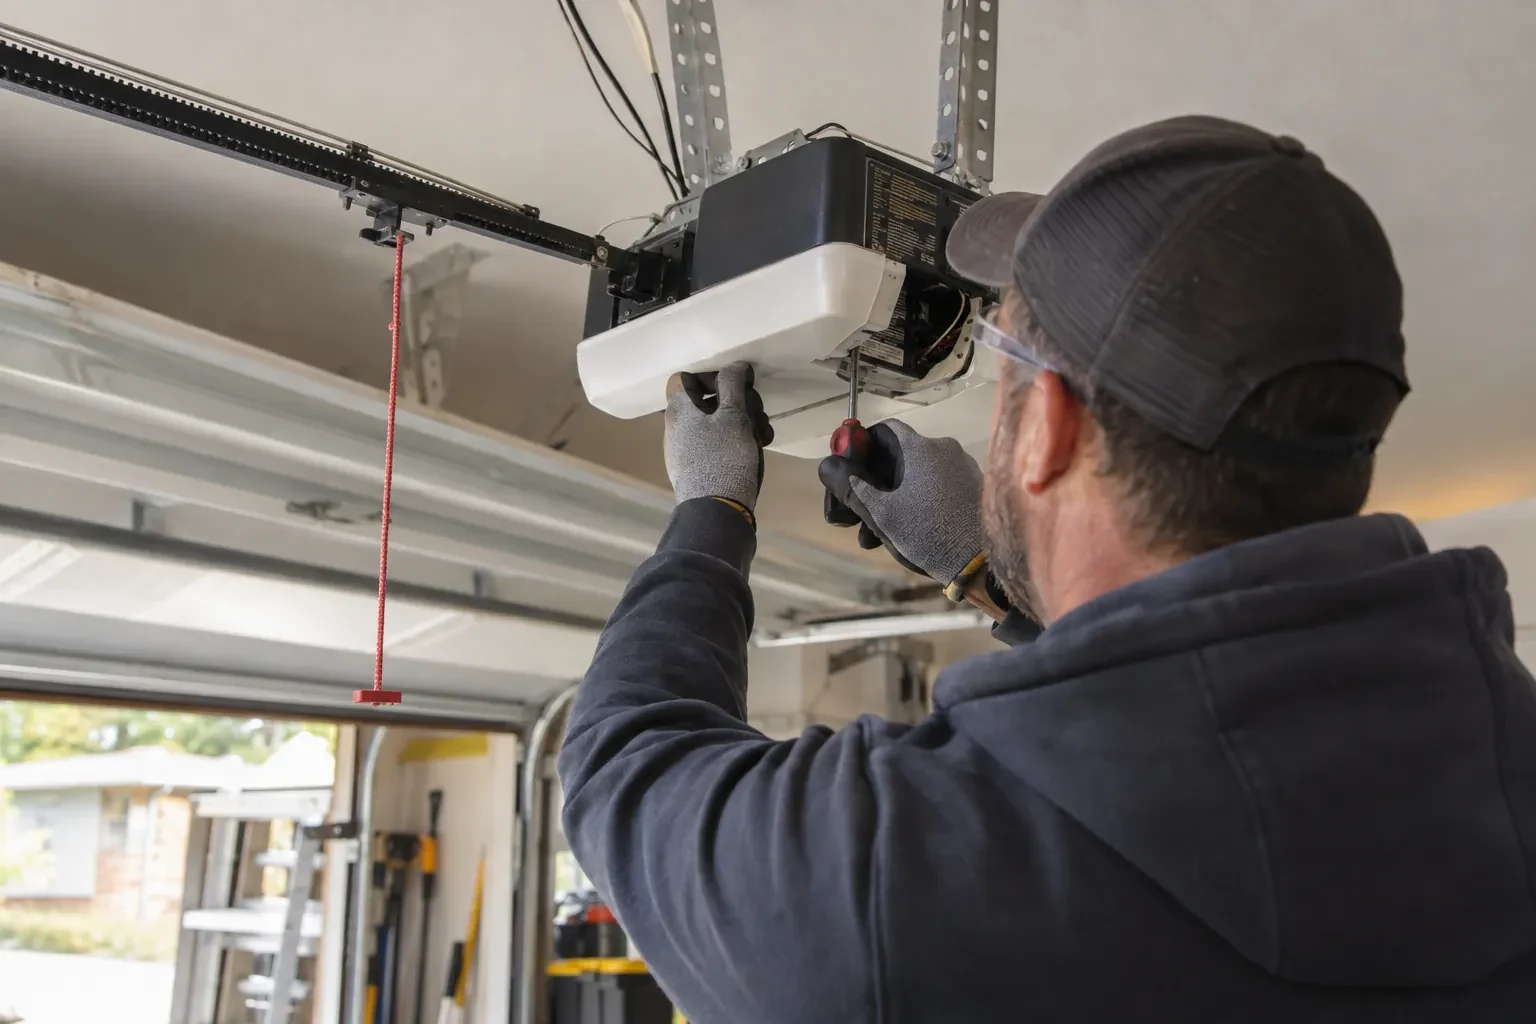
Garage door opener diagnosis is a fault-finding visit with a fixed order of tests. The technician confirms power at the ceiling receptacle, tries each control on its own, checks the safety sensors and their indicator lights, examines the drive train from motor to trolley, and reads any flash code the unit is showing. Only then is a part named, because a dozen different faults look identical from the driveway and guessing at the part costs you a second visit. When the cause is a small component, the repair is made while the technician is there; when it is not, you get a clear account of what comes next.
How the visit goesThe motor runs, the chain rattles along the rail, and the door does not move a millimetre. You notice the little carriage sliding back and forth on its own. Last week the power was out and someone pulled the red cord to get the car out.
Garage Door Opener Diagnosis and Repair
How the visit goes
Power at the ceiling
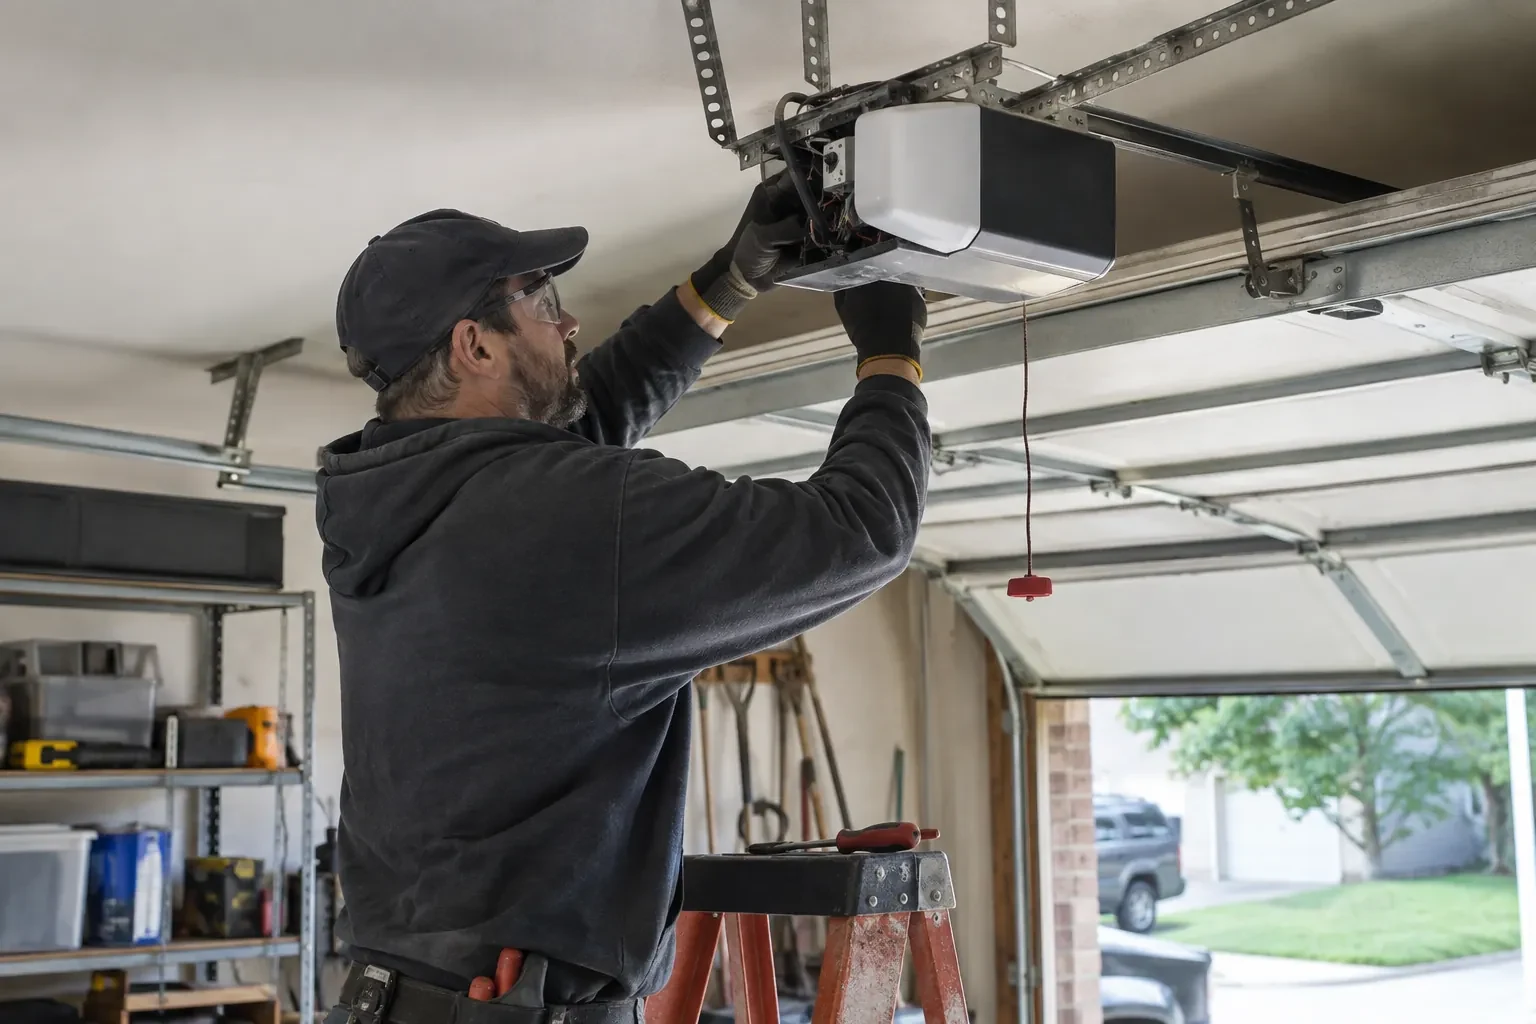
The receptacle above the opener is checked before anything cleverer. A plug can work loose when a car door is slammed underneath it, a breaker or ground-fault device can trip during a storm and stay tripped, and an outlet that shares a circuit with a freezer or a workshop tool may have failed quietly. The technician confirms voltage at the receptacle, watches for the head unit's light and indicator when power is restored, and where the model allows it checks the transformer output and the small fuse on the board. A silent opener is very often an unpowered one, and this step settles that early.
Sensor alignment and replacement
Photo eyes are brought back into service by fixing what actually broke. A bent bracket is straightened and re-secured so the two lenses face each other at the same height; dirty or frosted lenses are cleaned; a receiving eye blinded by low winter sun gets a shade, or the pair is swapped side to side. Wire that has been stapled through, chewed or pulled from its terminals is re-run with fresh bell wire, clipped clear of the track. When a sensor's electronics have failed, the pair is replaced together with units made for that opener, then the beam test is repeated to prove the circuit closes and the door reverses.
A door that answers every control
Before the technician leaves, the door is run from each control you own: the wall console, each remote, the keypad and any phone connection. You watch it open fully, close to a gentle seal and stop in the right places. The opener light and indicator are explained so you know what normal looks like, and any code that appeared during the diagnosis is shown cleared. You also see the reversal tests done in front of you, so you know the door will back off a 2x4 and stop for a beam interruption. Watching the system pass gives you confidence that the repair addressed the real cause.
Garage Door Opener Diagnosis and Repair
In the van
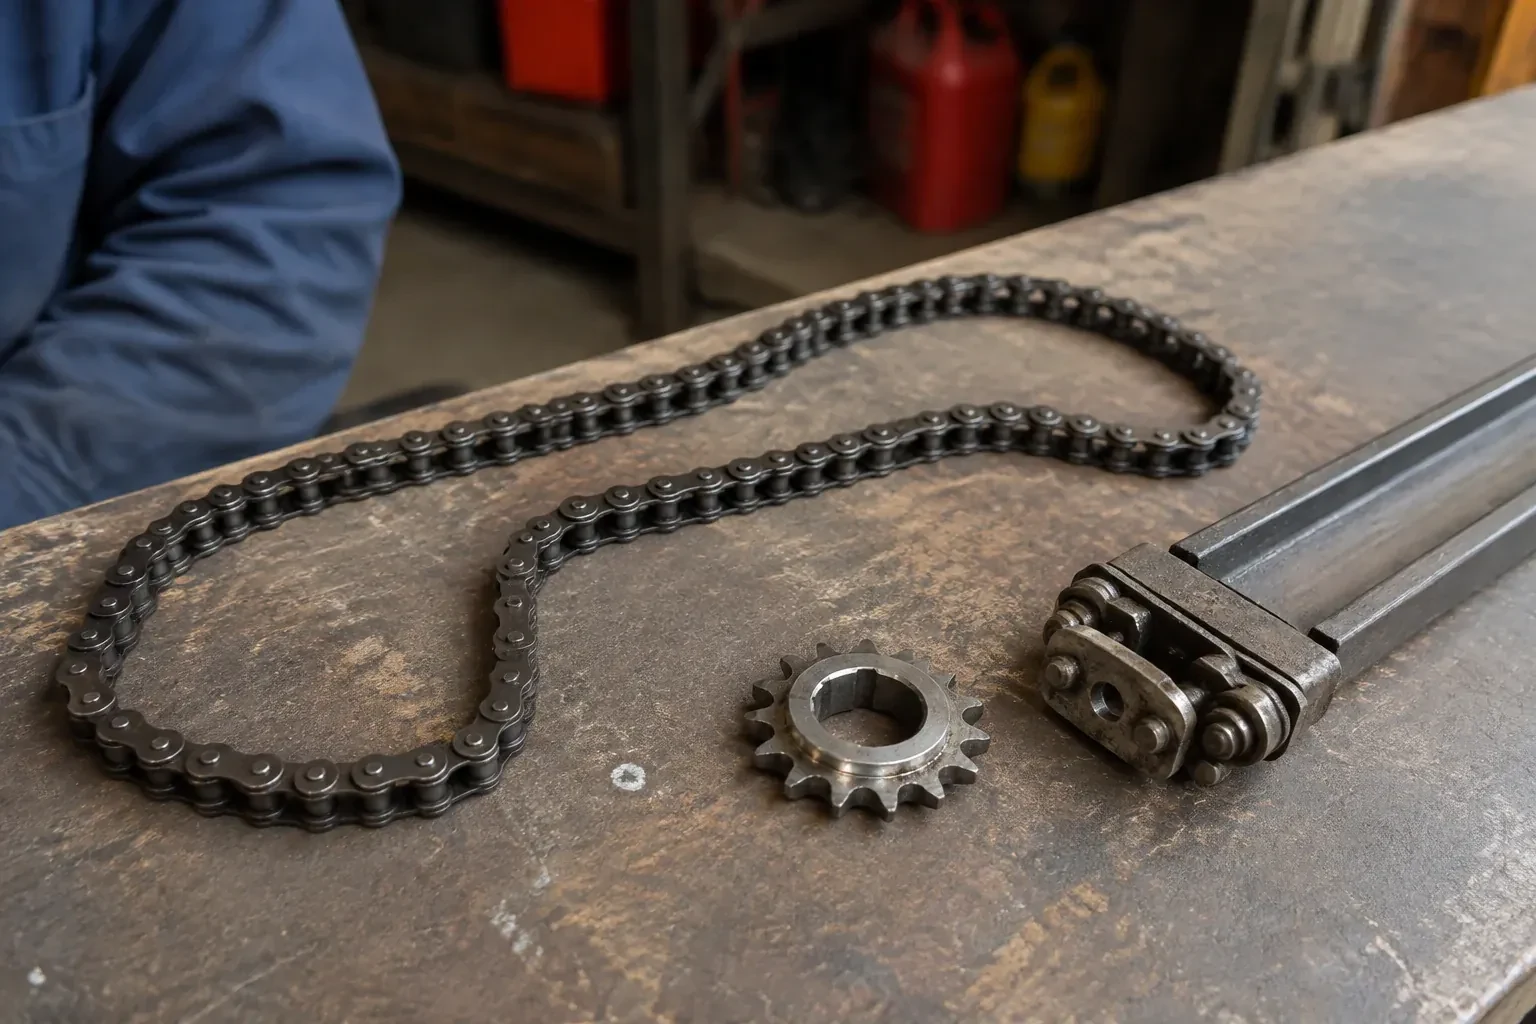
Drive gear and sprocket kit
Wall control
Transformer and board fuse
Bell wire and clips
Photo-eye sensor pair
Garage Door Opener Diagnosis and Repair
What affects the quote
Distance to your door
Travel is part of the visit. An address across town and a rural property at the end of a concession road involve different driving, and the quote reflects the trip.
Age and model of the unit
Parts availability is checked by exact model and part number rather than assumed from age, since some units even from the last two decades already have a board or component discontinued with nothing to replace it. Sourcing a part, or replacement instead, shapes the quote.
Time of the call
A weekday daytime visit and an evening, weekend or holiday call cost the same amount for an opener diagnosis. The technician confirms the exact figure once the drive, the sensors and the wiring have been checked in person.
What to have ready
- Can you see a gap in a spring above the door, or a loose cable?
- Are the two small lights on the sensors near the floor steady, flickering or off?
- Are the lights on the opener or the wall control blinking, and in what pattern?
Garage Door Opener Diagnosis and Repair: questions
QuestionsWhat do the blinking lights on the opener mean?
They are a diagnostic code. On openers made in roughly the past fifteen years, the head unit flashes its lights, or a pair of up and down arrows, in a counted pattern such as one flash then five. Each pattern corresponds to a fault family on the maker's chart for that model: sensor circuit obstructed or open, motor commanded but not moving, more force than allowed. The technician reads the pattern, then confirms it by hand, since one fault can imitate another.
How do you tell whether it is the opener or the door?
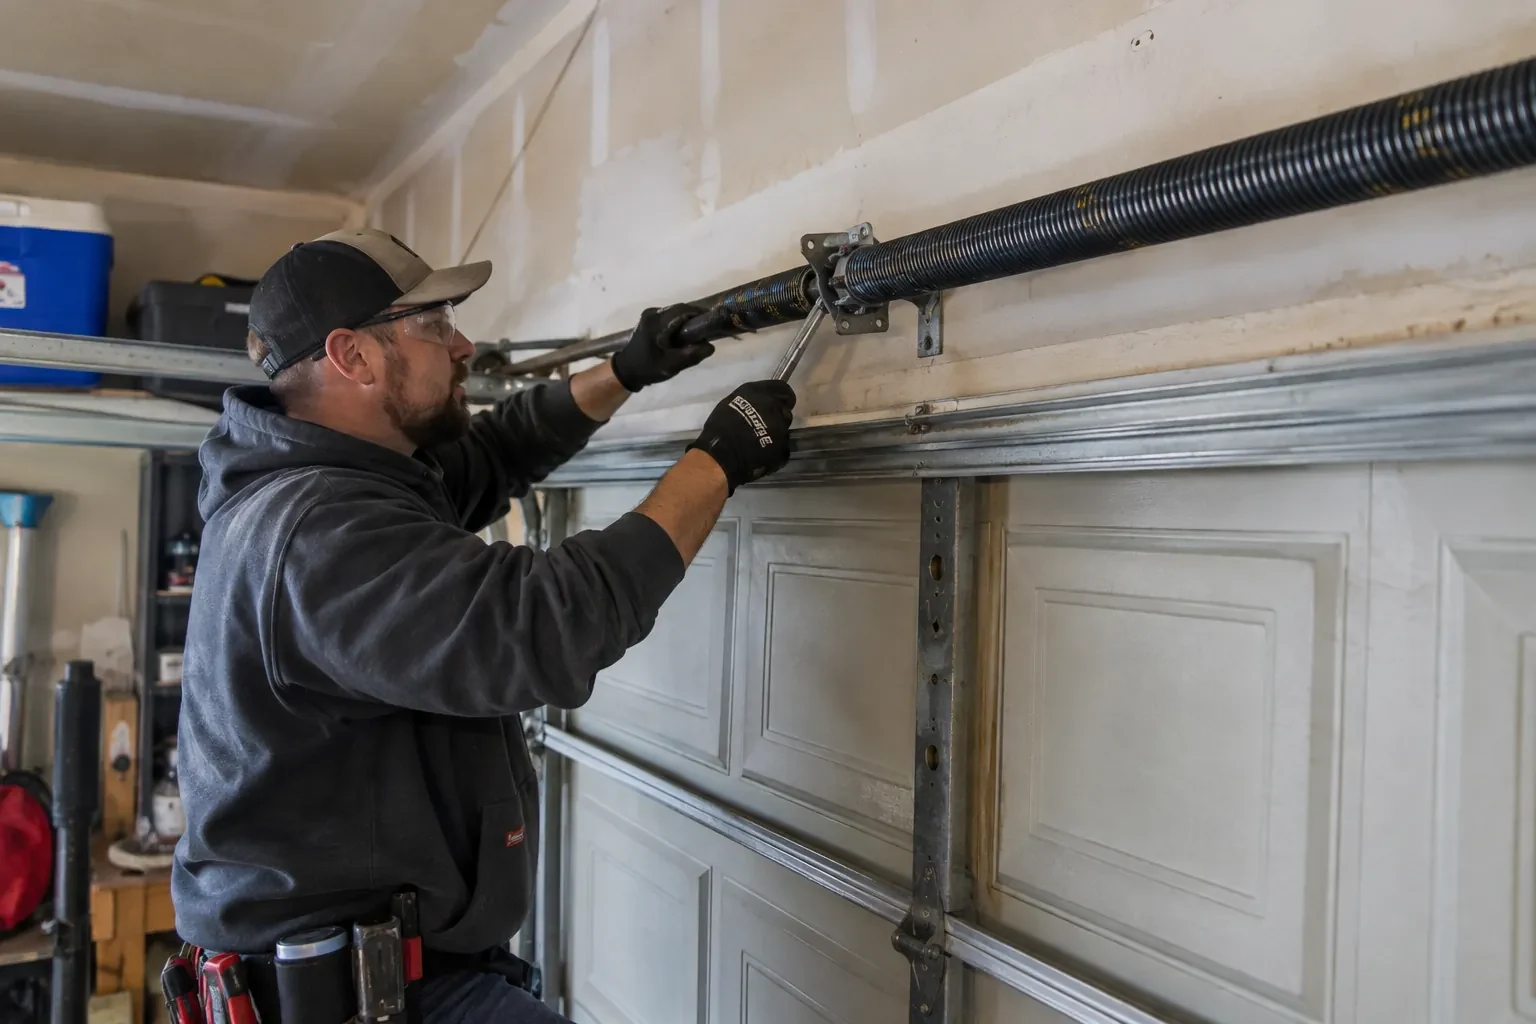
By separating them. With the door closed, the emergency release is pulled so the opener is out of the picture, and the door is lifted by hand. A balanced door rises without strain, hangs where you leave it around waist height and stays open at the top. If it does, the opener is at fault. If it is heavy, drifts or binds, the door is the cause and the opener was only reporting the strain. This one check prevents a great many wrong repairs.
Why does my garage door open by itself?
A door that opens with nobody pressing anything is usually being told to by a fault in its wiring or a control. A pinched or stapled wire to the wall control can short intermittently and act like a button press; a stuck button on a remote left in a coat pocket does the same; and a neighbour's remote on an old fixed-code opener can occasionally trigger it. The technician isolates each control in turn until the phantom command stops.
Related services
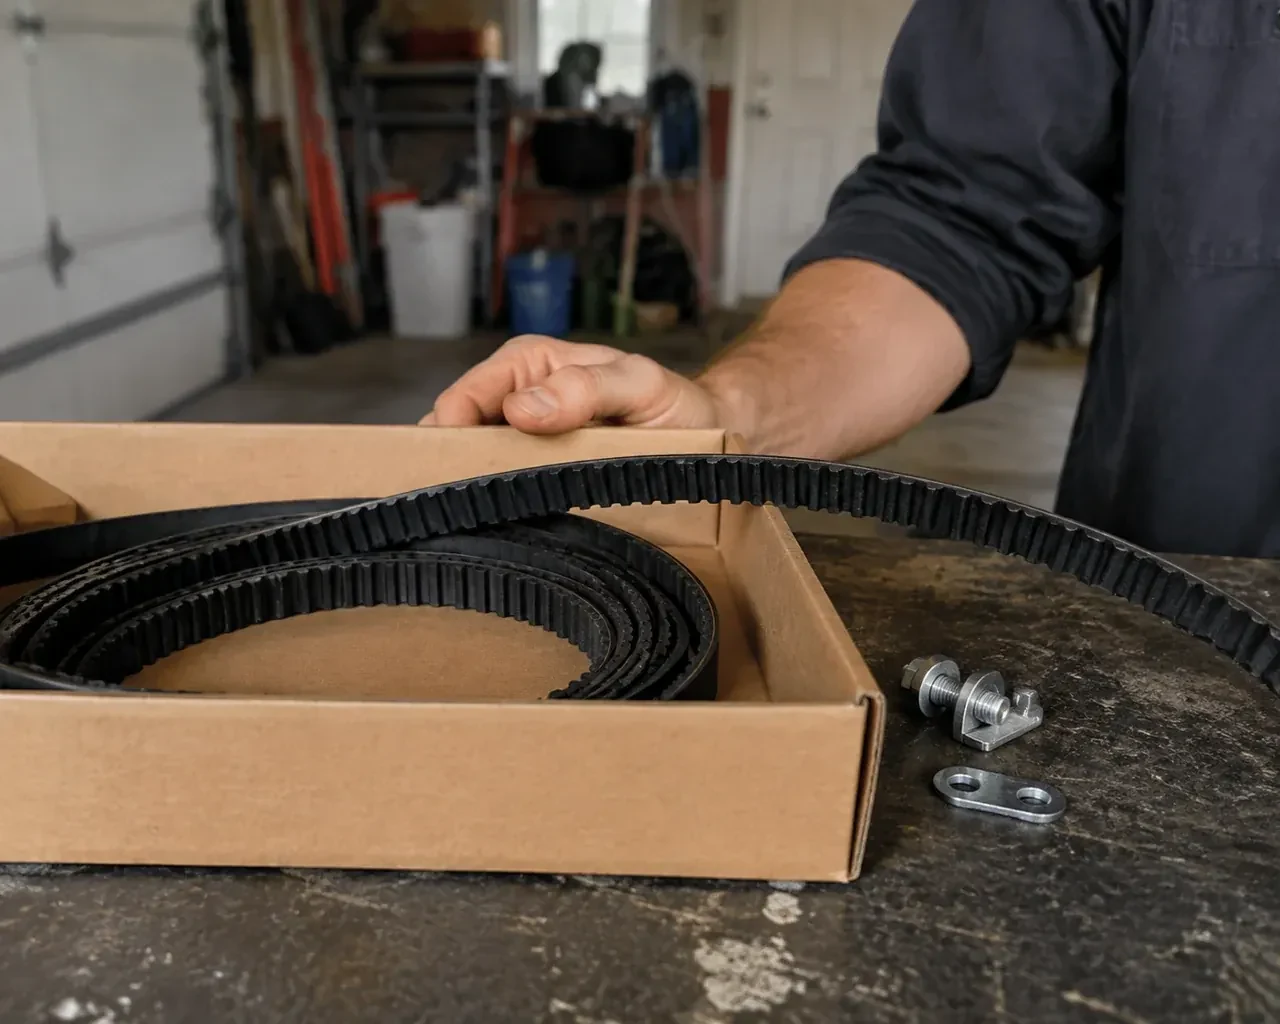
- Belt-Drive Opener RepairSomeone tightened the belt last month to stop the sag.
- Garage Door Opener ReplacementPress the button and the motor hums, but the door stays exactly where it is.
- Photo-Eye Sensor Alignment or ReplacementYou press the remote, the door drops a few centimetres, then climbs straight back to the top while the opener light blinks.